Field Mag may receive a minor commission from purchases made via affiliate links.
Adam Kingman is an industrial designer based in Lake Tahoe, CA. He brings radlers on bike rides and takes sunset swims instead of showers. Follow Adam on Instagram.
There are so many options when it comes to covering our germy pie-holes in these uncertain times, so there's really no excuse not to. We love a good DIY project, but if you prefer to leave it to the pros, check out our favorite face masks by trusted outdoor brands.
I always keep a few loose materials on my desk. Miscellaneous items to tinker with as I take calls or sort through emails. The current quiver is a lego skateboard, some shock cord, and a sample of my friend's colorful old climbing rope. I love playing with rope.
I'll admit, I didn't wear a mask for a long time. At the start of the pandemic, I didn't really leave the house. And if I did, I stuck to nearby bike trails. Hiding out in Tahoe allowed for that. And I simply didn't have a mask I enjoyed wearing. But with the state of the world now, I began to feel the weight of my neglect and have since corrected course. Because we should all wear masks. Yes, even you.
As a designer by nature, I began playing with paper masks. I like to use what I have instead of buying materials, so I grafted some material from a shirt sleeve and added rope I had been fiddling with all summer. And voila, a DIY face mask made with household materials.
Read on for the full step-by-step on how to make a DIY face mask at home. Even if you think you can't sew, you can do this. Just remember to have fun—wearing a mask is serious, but making one should be anything but.
Materials List:
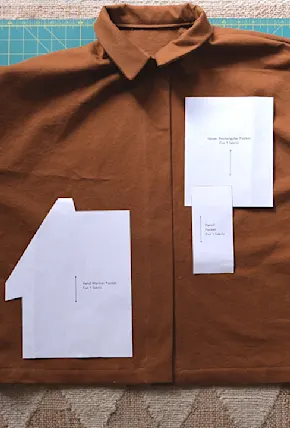
- mask pattern (download here)
- old shirt, jeans, bandana, or any fabric
- shock cord, shoelace, or hoodie string
- old climbing rope (optional, but rad)
- borrowed sewing machine
- sharp scissors
- lighter for burning rope ends
- chalk, sharpie, or felt tip pen
- pins
Step 1:
First things first, rip off those old shirt sleeves and let your muscles breathe. It’s summer. Here, I’m using a blue sleeve as my mask outer material and a light cotton stripe as the liner. Lay them flat and space out your pattern.
Step 2:
Trace the pattern onto the fabric. Cut about 1cm outside the lines.
Step 3:
Excellent, good work. Turn the shapes over, and retrace. Note the ticks. This helps make sure we don’t sew the wrong edges together.
Step 4:
Align and pin at the inner seams. Both liner and outer.
They should be looking like this ^
Step 5:
Sew straight along the lines, removing pins along the way.
Step 6:
For the outer, iron flat the seam.
Step 7:
Then add a zigzag stitch. It adds a bit of structure and looks neat.
Step 8:
Looking good. Now align and pin the two halves together, seams facing outward. Then go ahead and sew along the traced line. Be sure not to completely sew the thing shut.
Step 9:
Don’t forget to keep one edge left open. I prefer the edge where the pen is sticking out. It’s easy to hide that seam behind the rope later on. Use a pen to flip the whole thing inside out.
Step 10:
Awesome. Feel free to iron our new outer seam flat. Then straight stitch along the outer edge.
Step 11:
A friend gave me her retired climbing rope and I always enjoy finding uses for it. If you don’t have excess rope, get creative with how you want to attach your strings. There are a hundred ways you can tie this thing to your face. Below, I’m cutting two rigatoni sized pieces of rope.
Step 12:
Remove the rope core and burn the edges of the sheath to prevent fray. Flatten the sheath and sew one edge to the mask. I’m using a zigzag stitch here.
Step 13:
With about 40cm of cord, string through the rigatoni, making a little squid monster.
Step 14:
Yeehaw. Use the lighter to burn the ends together. Even better if you have heat-shrink tubing.
Hot dog, you did it pal. Well done.
Proud of you. Yes, you.
Thank you for preventing the spread of COVID-19 and farmer tans.
Published 07-23-2020